
Spotify has become a household name when it comes to streaming music, offering an extensive library of tracks spanning various genres. While Spotify excels in providing access to a vast collection of songs, it also allows users to incorporate local files into their playlists. These local files can be music files you own but are not available on Spotify. However, managing local files and knowing how to delete them on Spotify may not be as intuitive as other features on the platform. In this guide, we will walk you through the steps to efficiently delete local files on Spotify, helping you streamline your music library and create a more organized listening experience.
Understanding Local Files on Spotify
Local files on Spotify refer to music files stored on your computer that aren’t part of Spotify’s streaming library. These files could be tracks you’ve purchased, ripped from CDs, or downloaded from other sources. Spotify allows you to import these local files into the application, giving you the ability to create playlists that seamlessly integrate both Spotify’s streaming content and your personal music collection.

Importing Local Files
Before we delve into the process of deleting local files, it’s essential to understand how to import them into Spotify. Here’s a quick overview:
- Open Spotify: Launch the Spotify application on your computer.
- Go to Settings: Click on the downward arrow in the top-right corner of the Spotify window to open the drop-down menu. Select “Settings” from the options.
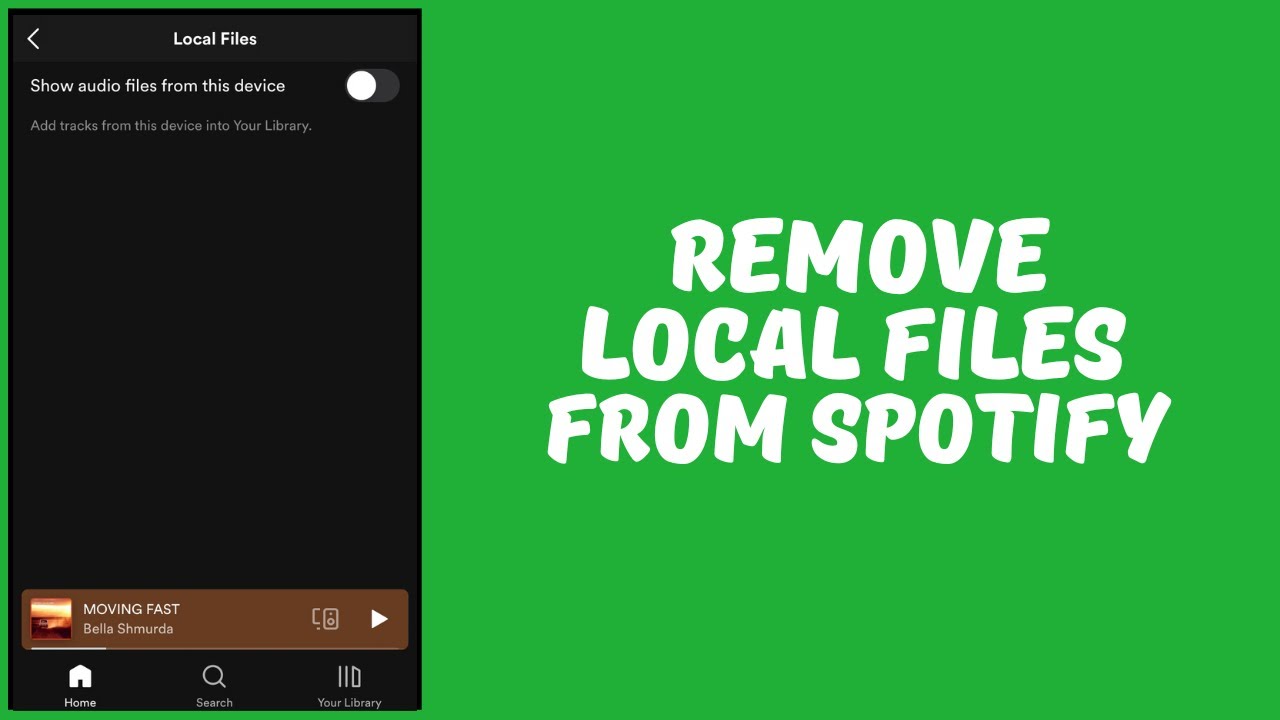
- Scroll down to Local Files: In the Settings menu, scroll down to find the “Local Files” section.
- Add a Source: Click on “Add a Source” to select the folder where your local music files are stored. Spotify will then scan the selected folder and add the compatible music files to your Spotify library.
Deleting Local Files on Spotify
Now that you have imported your local files into Spotify, you may want to remove some of them or all of them at some point. Follow these steps to delete local files:
- Open Spotify and go to your Library: Launch Spotify and navigate to the “Your Library” section on the left sidebar.
- Select Local Files: In the Library section, look for “Local Files” in the left sidebar. Click on it to view all your locally imported files.
- Choose the Files to Delete: Locate the local files you want to delete. You can select multiple files by holding down the Ctrl (Windows) or Command (Mac) key while clicking on the desired files.
- Right-click and Delete: Once you’ve selected the files, right-click on any of the highlighted files, and a context menu will appear. From the menu, select “Remove from playlist” to delete the files from your Spotify library.
- Confirm Deletion: Spotify will prompt you to confirm the deletion of the selected files. Click “Remove” to finalize the deletion process.
- Check Playlists: If you’ve added these local files to playlists, make sure to check and remove them from the playlists as well. Go to the playlist containing the files and repeat the right-click and removal process.
- Refresh Your Library: To ensure that the deleted local files are entirely removed from Spotify, close and reopen the application. This will refresh your library and sync the changes.
Conclusion
Managing your music library on Spotify, including local files, can greatly enhance your overall listening experience. By understanding how to import, organize, and delete local files, you can keep your playlists clutter-free and tailored to your preferences. Whether you’re making room for new music or simply decluttering, these steps will help you maintain a streamlined and enjoyable music library on Spotify. Take control of your musical journey and make the most out of the versatile features that Spotify has to offer.