
In an era where digital transactions have become an integral part of our daily lives, ensuring the privacy and security of our financial data is paramount. PhonePe, a popular digital payment platform, provides users with a convenient way to make transactions, but it’s essential to know how to manage and delete your payment history for various reasons, such as privacy concerns or simply organizing your financial records. In this guide, we will walk you through the steps on how to delete payment history in PhonePe.
Why Delete Payment History?
Before we delve into the steps of deleting payment history on PhonePe, let’s explore why someone might want to do so. Privacy is a significant concern in the digital age, and many users may feel uneasy about their financial data being stored on a platform. Deleting payment history helps in minimizing the risk of sensitive information falling into the wrong hands, especially if you share your device with others.
Additionally, maintaining a clutter-free and organized record of transactions can be crucial for personal financial management. Deleting unnecessary payment history ensures that your transaction records are relevant and easy to navigate.

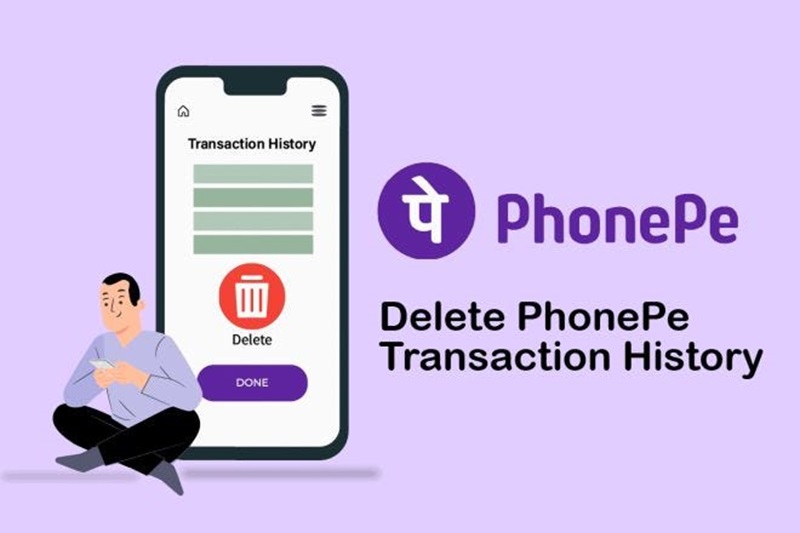
Steps to Delete Payment History in PhonePe:
Step 1: Open the PhonePe App
Begin by unlocking your device and launching the PhonePe app. Ensure that you are using the latest version of the app to access all the features and updates, including the ability to manage your payment history.
Step 2: Log In to Your Account
If you are not already logged in, enter your credentials (phone number and password or use biometric authentication) to access your PhonePe account. Make sure you have a stable internet connection for a seamless experience.
Step 3: Navigate to Transaction History
Once logged in, locate the “My Money” or “Transaction History” tab on the app’s home screen. The exact location may vary slightly depending on the app version, but it’s typically found in the main menu or on the home screen.
Step 4: View Transaction History
In the Transaction History section, you will find a list of all your recent transactions. PhonePe categorizes transactions based on their types, such as Send Money, Request Money, and Recharge. Select the category or the specific transaction you want to delete from your payment history.
Step 5: Access Transaction Details
Click on the transaction you wish to delete to access its details. This will typically display information such as the transaction amount, date, and the recipient’s details. Look for an option that allows you to manage or delete the transaction.
Step 6: Delete the Transaction
In most cases, you will find a “Delete” or “Remove” option within the transaction details. Click on this option to proceed with the deletion. PhonePe may prompt you to confirm the action to ensure that you intend to delete the selected transaction.
Step 7: Confirm Deletion
After selecting the delete option, the app may ask you to confirm your decision. This is an additional security measure to prevent accidental deletions. Confirm that you want to delete the transaction, and the selected payment entry will be removed from your history.
Step 8: Repeat as Necessary
If you have multiple transactions you wish to delete, repeat the process for each one individually. PhonePe currently does not offer a bulk-delete feature, so you’ll need to go through each transaction you want to remove from your history.
Step 9: Verify Deleted Transactions
To ensure that the transactions have been successfully deleted, navigate back to your Transaction History and review the list. The deleted transactions should no longer appear in your records.
Tips for Managing Payment History in PhonePe:
- Regularly Review and Delete: Make it a habit to review your transaction history periodically and delete any entries that are no longer relevant. This practice will help you maintain an organized and clutter-free record.
- Use App Settings for Additional Control: Check the app settings for any additional features related to transaction history. PhonePe may introduce new options or settings in updates that provide users with more control over their data.
- Keep Your App Updated: Ensure that you are using the latest version of the PhonePe app. Developers regularly release updates to address security concerns, improve functionality, and introduce new features.
- Monitor Account Security: Always prioritize the security of your PhonePe account. Use strong passwords, enable two-factor authentication if available, and be cautious about sharing your login credentials.
- Contact Customer Support if Needed: If you encounter any difficulties or have specific questions regarding deleting payment history on PhonePe, don’t hesitate to reach out to the app’s customer support. They can provide guidance and assistance tailored to your situation.
Conclusion
In conclusion, managing your financial privacy is crucial in the digital age, and being able to delete payment history on PhonePe gives users control over their transaction records. By following the steps outlined in this guide and incorporating best practices, you can ensure that your financial data remains secure and organized while using digital payment platforms.